
Fresh Garlic Pickles Without Dill Recipe (Vegan, Gluten Free)
Turn off the heat and allow to cool in the water for 5 minutes, then carefully transfer to cutting board and allow to cool to room temperature. Check the lids for a seal after 12 hours (make sure the lids pop down: if not, store the pickles in the refrigerator like in Step 8). Store in a cool place for up to 1 year.

Dill Pickles Canning Tutorial + Grandma's Secret Recipe Simplify Live
While the jars are washing, wash and drain the pickling cucumbers. Wash the dill blossom heads or dill sprigs, and shake dry. Combine the ingredients for the brine in a large stockpot and bring to a boil. When it has boiled, turn off the heat and cover the pot with a lid to keep the brine hot until you need it.
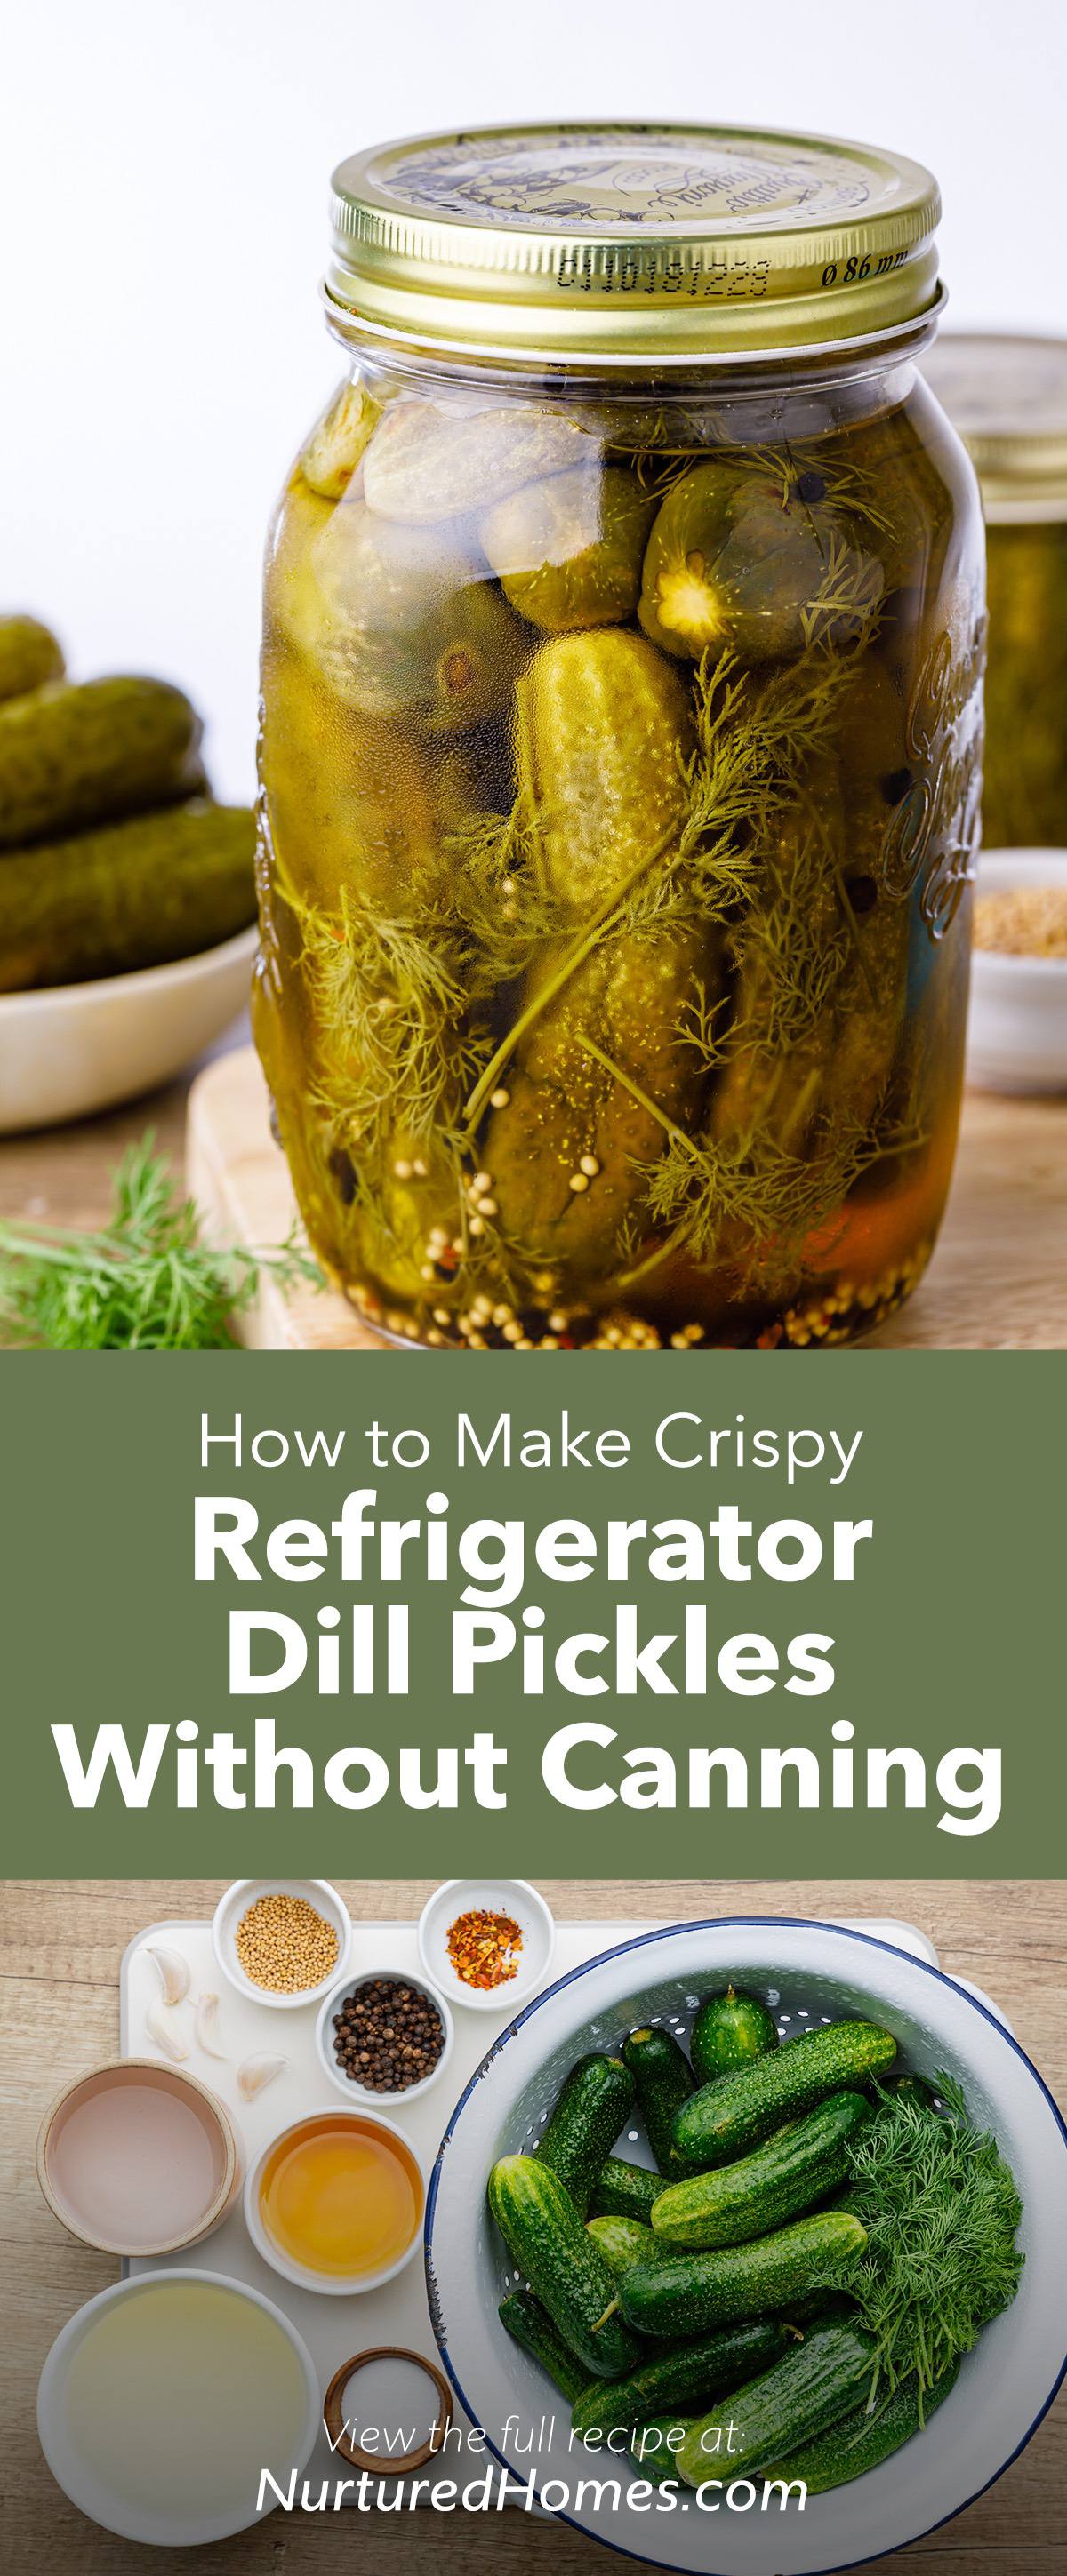
How to Make Crispy Refrigerator Dill Pickles Without Canning Nurtured
Scrub cucumbers clean with a veggie brush and rinse the dill in water, shake off excess water. Cut the dill stems to a length where they will fit into your jars. Place vinegar, water and sugar in a saucepan of at least 2 1/2 quarts capacity, and bring to boil. While brine is heating,Divide all the spices into equal amounts per jar and pack jars.

Dills Pickles without garlic The Bread Essentials
They also come in a variety of products like whole dill pickles, hamburger dill chips. 8. Dietz & Watson Dietz & Watson also makes specialty hot dogs. Fat-free and gluten-free; No added MSG;

Canning Dill Pickles No Salt No Sugar YouTube
Instructions. Wash and drain cucumbers, then slice. Combine salt, water, and vinegar in a large sauce pot and bring to a boil. To each quart jar add 2 heads of dill, contents of 1 bag of black tea (not the bag itself), 1/2 tsp mustard seeds, and 2 peppercorns. Pack cucumbers into hot jars and cover with vinegar mix, leave a 1/4" headspace.

How to Can Crunchy Dill Pickles WITHOUT Pickle Crisp! Recipe Water
Heat, while stirring, just until salt and sugar are dissolved. Pour this brine over your packed cucumbers in the jar until they are just covered. Let sit uncovered for 10-15 minutes, or until jar is only slightly warm to touch. Screw a lid on tightly and place in the refrigerator for at least 24 hours before serving.

Dill Pickles Preparedness AdvicePreparedness Advice
Directions. Combine the water, vinegar, salt and sugar and boil one minute. Cool slightly. Wash the cucumbers and cut off about 1/16"from each end. This gets rid of some enzymes that would soften the pickles, and allows better penetration of the brine. Pack the cucumbers in a one gallon jar with the dill.

Crunchy Quick Dill Pickles Easy Peasy Meals
To make this easy dill pickle recipe start by cutting off each end of the cucumbers and discard. Then cut each cucumber lengthwise into 4 spears, or in 1/4 inch slices, or leave them whole. In a large bowl, add the prepared cucumbers, dill and garlic and then set the bowl aside. Now it is time to make the brine.
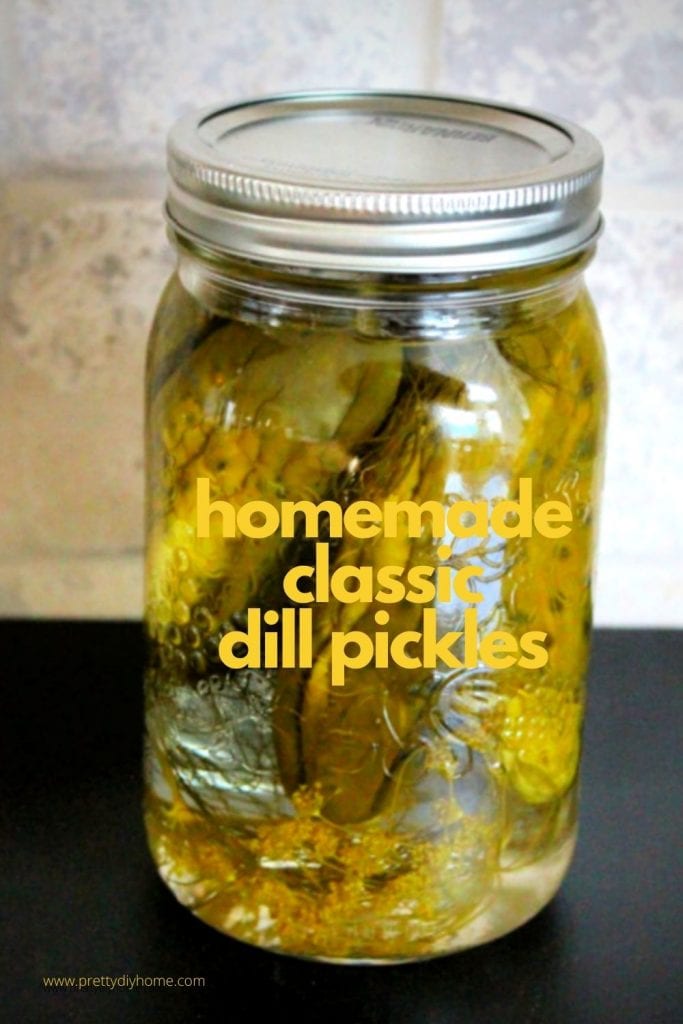
Classic Homemade Dill Pickle Recipe Pretty DIY Home
Don't use whole pickles; the brine will take too long to penetrate them. Cut the cucumbers into slices that are ¼-inch (0.6 cm) thick, discarding the stem end. Cut the onion in half and slice ⅛-inch (0.3 cm) thick. Smash the garlic cloves. Stir the vinegar, hot water, and salt together until the salt has dissolved.
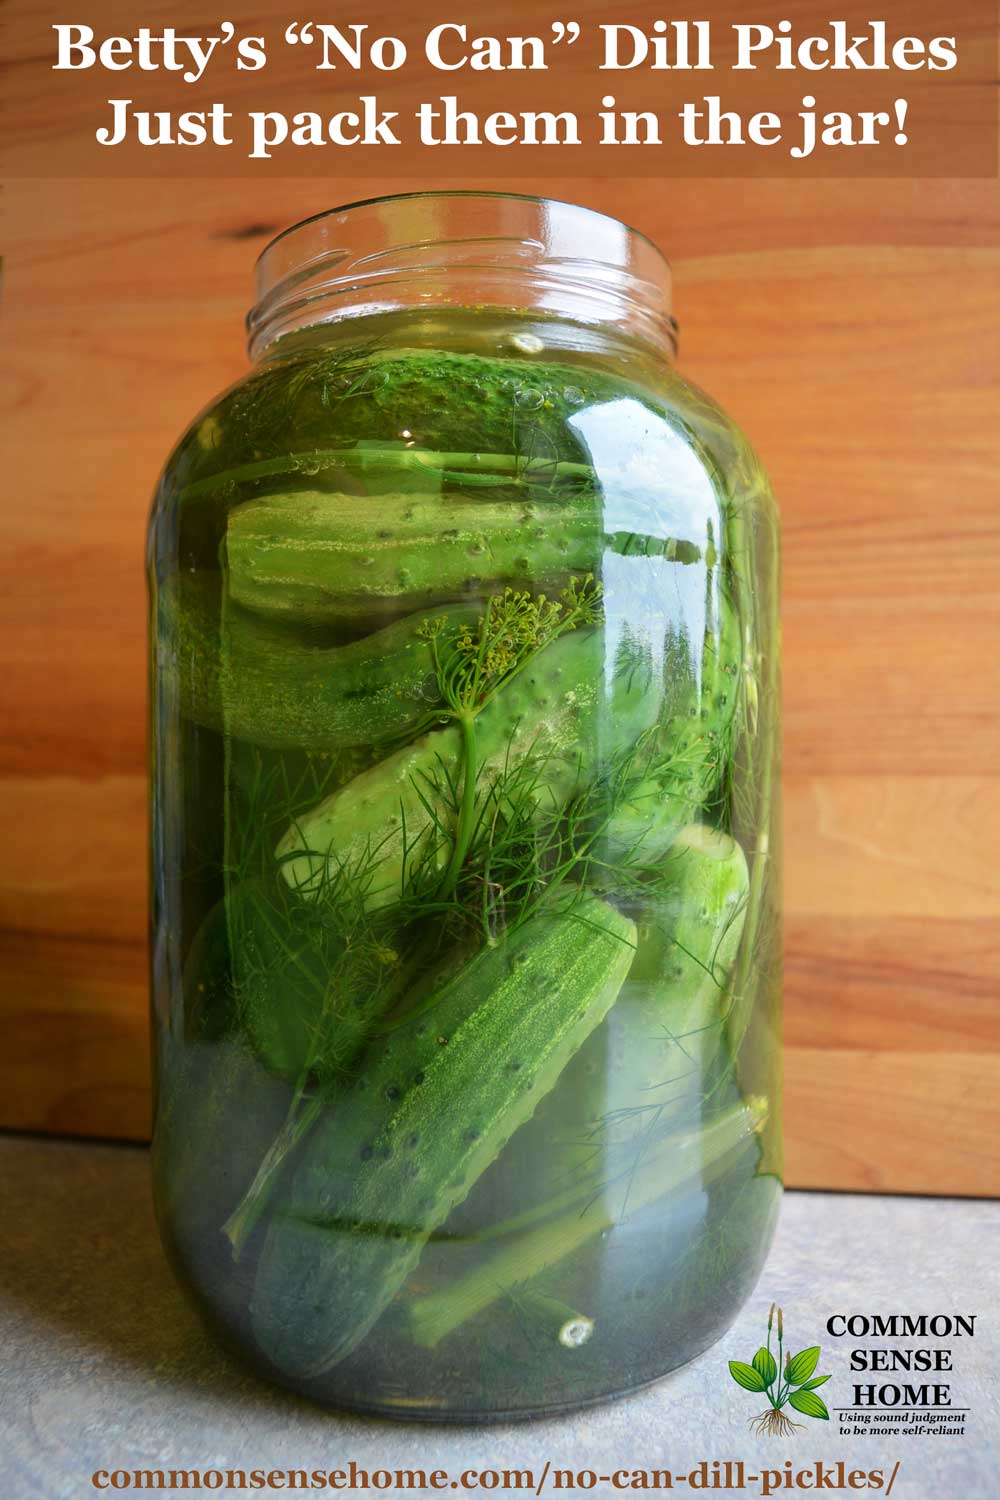
Betty's No Can Dill Pickles Just Stick Them in a Jar!
Tap the jars against a wood cutting board to remove air bubbles, then add more brine to cover the cucumbers if necessary. Twist the lids on tightly, then turn the jars upside down and shake to distribute the spices. Refrigerate. Place your quick dill pickles in the fridge for 48 hours - then dive in!

Homemadespicydillpickles2 Domestic Wannabe
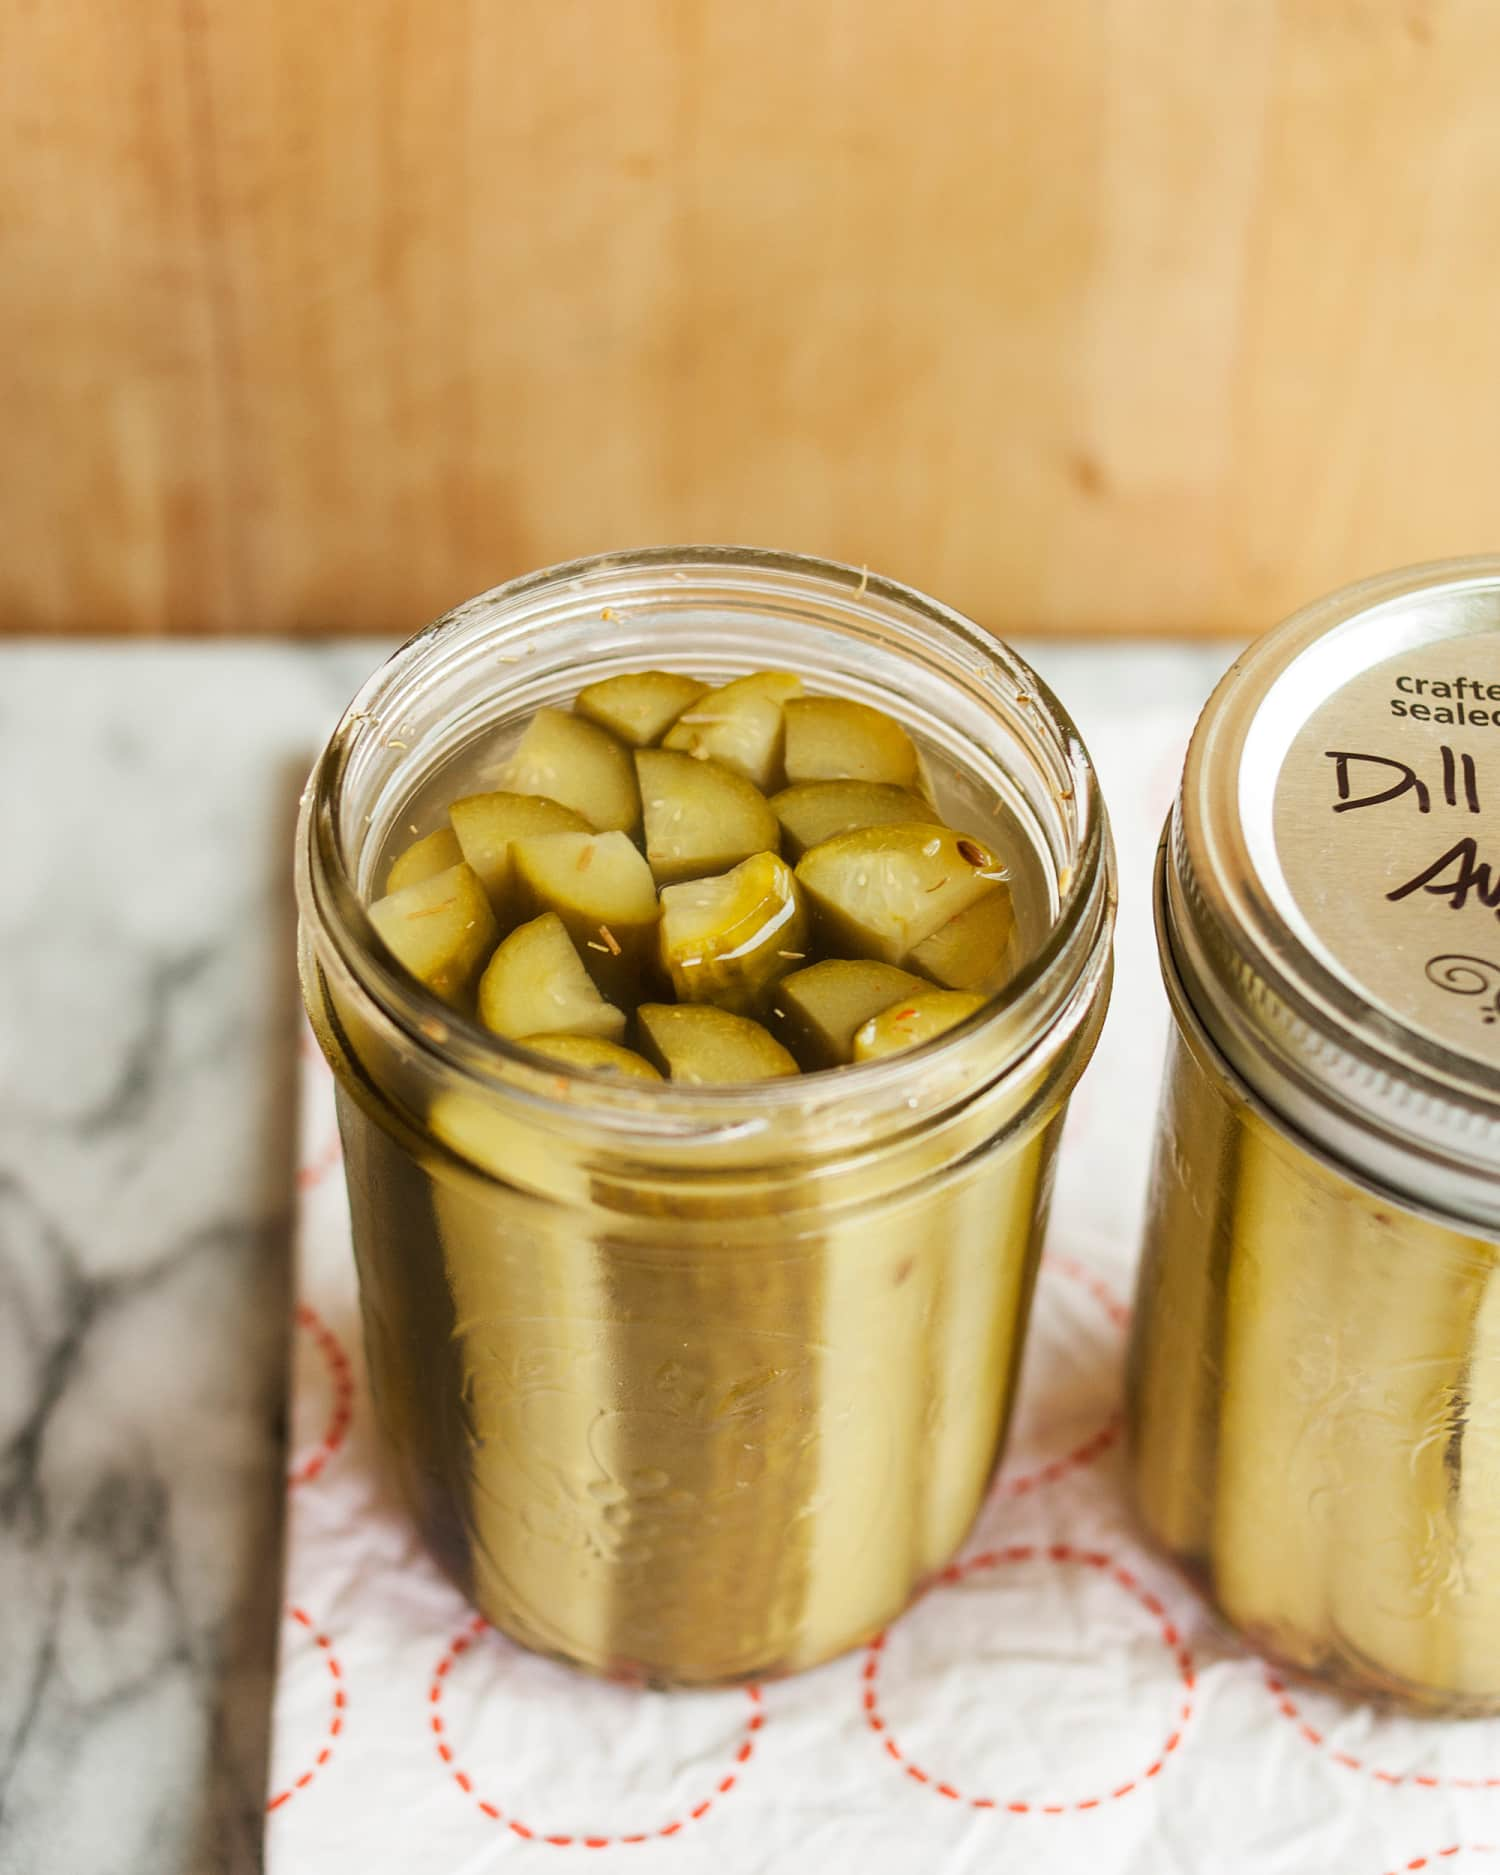
Add the coriander seeds, garlic cloves, mustard seeds, red pepper flakes, dill sprigs, and chilled brine into jars, dividing evenly. If necessary, add a bit of cold water to the jars until the brine covers the cucumbers. Cover and refrigerate about 24 hours, then serve. The pickles will keep in the refrigerator for up to one month.

Canned Dill Pickle Recipe
Prepping to make dill pickles. Wash and dry the dill in a colander. Cut most of the stems off so all that remains is the dill part and 2″ of the stem. Place on separate plates or on a large cutting board, the sliced celery, garlic cloves, and cut dill. Have the pickling spice, alum, salt, vinegar and water ready to go.

How to Make Crunchy Dill Pickles Using the Open Kettle Method Recipe
Instructions. Slice cucumbers length-wise into spears and place on a kitchen towel. Sprinkle with a little salt to draw out the moisture, allow cucumbers to sit for 1 hour. In a sauce pan, heat the rice vinegar, water, white wine vinegar, sugar, and salt until the salt dissolves.
How To Make Dill Pickles Kitchn
directions. Put the quart jar (s) in a large pot, cover and bring to a boil. Boil them for 10 minutes. Remove and empty them. Put the salt, spices and garlic in the bottom of a sterilized quart jar. The amount listed is for one jar. Add a little water to dissolve the salt. Pack- I say PACK!

Learn how to make easy homemade dill pickles no canning required
Add the spices to the jars. Peel and smash 4 garlic cloves. Place the following in each jar: 2 garlic cloves, 1 teaspoon dill seeds, and 1/4 teaspoon red pepper flakes if desired. Pack the cucumbers into the jars. Pack the cucumbers (vertically if they are whole or cut in spears) into the jars.
Best 3 Amish Sweet Dill Pickles Recipes
Bring to a boil, reduce heat, and simmer for 5 minutes. Ladle the brine into the jar leaving 1/4 inch of head space to cover the cucumbers. Attach lids. Let cool to room temperature, label the lids with day and year and then store in the refrigerator.